Showing posts with label Crafts. Show all posts

Thursday, December 8, 2011

Giving the Gift of Good Health

I've been called germaphobe in my day. Weirdo. OCD. Paranoid. Call me what you must, but I absolutely despise getting sick. Anything that I can do to prevent it, you can guarantee that I will do it.

Everyone around me at work has been getting sick lately. There have been stomach flus, regular flus, colds, coughs and fevers. I know that I can only do whatever I can do to keep myself clean and germ-free, but can't necessarily make other people be germ-free, too. Or can I.....?

Everyone, meet my work-friend Christmas gifts.


Sanitizer Snowmen!

Friday, August 26, 2011

New Knife Block

I got sick of looking at my plain old wooden knife block. Luckily, I had some leftover spray paint from my desk and some pretty black scrap booking paper from the birds I made. One thing lead to another and -

Ta-da!!


Looks cool, huh?


Once I find my camera I will make sure to go back and take better pictures of everything I have done. In the meantime, you get this cell-phone picture. You get the jest of it.

Thursday, August 11, 2011

Houndstooth Heaven

When I planned on re-doing my family room (more just doing it in the first place...I couldn't re-do something that had never been done to begin with) I had all these visions of my favorite things: Color, texture, and HOUNDSTOOTH. My couple trips to Joanne's proved to be unsuccessful, as the worker I spoke with on several occasions let me know that they only carried houndstooth print in the heavy duty upholstery fabric that was far too scratchy for couch pillows. I went with my second favorite pattern, french damask.   
My sweetie can never know this, but I secretly grew annoyed of the pillows that I made for the family room. I LOVE French Damask, but they were just so stinking loud with the different colors and the fading...not to mention the difficulty I had in getting the particular fabric I had purchased to stop fraying. The seams were a hot mess and anyone with any sewing ability at all would have seen what a less-than-desirable job I had done.

Fast forward a month. I'm at Joanne's to buy a few things for a different project. I see there is a sale on fabric quarters, so I meander on that way. What to my wandering eyes should appear? Oh, only the answer to my prayers. White. Chocolate. Houndstooth.   Needless to say, I am in heaven.


Bought my fabric. Waited for my sweetie to be away from the house, then quickly re-covered the pillows and put them back on the couch as if nothing had happened. When he finally got around to noticing (it takes him a few days sometimes) he asked what happened to the other pillows. I didn't dare tell him that I hated my old pillows (he told me that I would and I don't like to point out when he's right) so I just told him that I finally found the fabric I originally wanted.

I must say, I am quite pleased with the results.


Less busy. Nice and houndstooth-ish. Just the way I like it.


My new pillows being modeled by Toby.


Monday, August 8, 2011

Wallflowers


There are a few things in my house that there is never a shortage of:

(in no particular order)
1. Dog hair on couches
2. Beer cans (empty and otherwise)
3. Empty toilet paper rolls
4. Testosterone
5. Baked goods

One day, the Artist in me would like to be able to re-use one or all of these things for something absolutely creative and totally fabulous. Until the day comes that black dog hair on white clothes becomes a fashion statement, cupcakes make you lose weight, and beer can chandeliers are all the rage, I will have to work with what I've got.

#1: A piece of old wood that I cut off my super fantastic new-old desk.


#2: Toilet paper and paper towel rolls, folded in half and painted to my liking.


I took the painted paper towel rolls after they had dried, and glued them onto the old piece of desk (that I had also painted the same color as the desk drawers). I used all-purpose craft glue from Joanne's so it only took about an hour to dry completely. (You can kind of see where it's still wet in the picture above)

TA-DA!!

I am pretty freaking proud of this project. It too me all of a half hour to make, and it looks absolutely fantastic, in my humble opinion, next to the lamp shade I also made with old fabric scraps. (Please excuse the poor lighting)


Wednesday, August 3, 2011

Pinterest Inspiration

For anyone who has not yet jumped on the Pinterest Bandwagon...you sure are missing out! I love, Love, LOVE lists and adore ways to help me be organized. It's nice for me, too because I am a very visual person. I retain images much better than words and other instructions.

I thought I would share a couple projects that I am looking forward to taking on in the next few weeks. These projects all come from my For the Home Board.


My bedroom needs pretty curtains

And a pretty headboard

And who doesn't need more ways to organize their craft room?


Pinterest is currently by invitation only, so if you would like to join, shoot me an email and I will send you an invite!

Happy Pinning!

Monday, July 11, 2011

Family Room Redo

I am slowly getting my house nearer and nearer to completion. Not that I ever intend on being "finished"...as there are always things that can be done to improve or mix things up!

This weekend I spent quite a few hours in the family room. The more I looked around, the less I liked it. I knew that I had more to do in here, but all of a sudden I couldn't wait anymore. I had to do it, and I had to do it - now.  Perhaps my new desk sparked my inspiration and creativity? At any rate, I found myself being faced with two problems. Luckily, I was able to cure them both.

Problem #1: Hideous hand-me-down pillows that have been taunting me from the corner of my craft room for months...and my space for years (sad, I know).

Yuck!


Solution #1: A quick trip to Joanne's fabric + one old shower curtain that had also been the cause of much aggravation. 

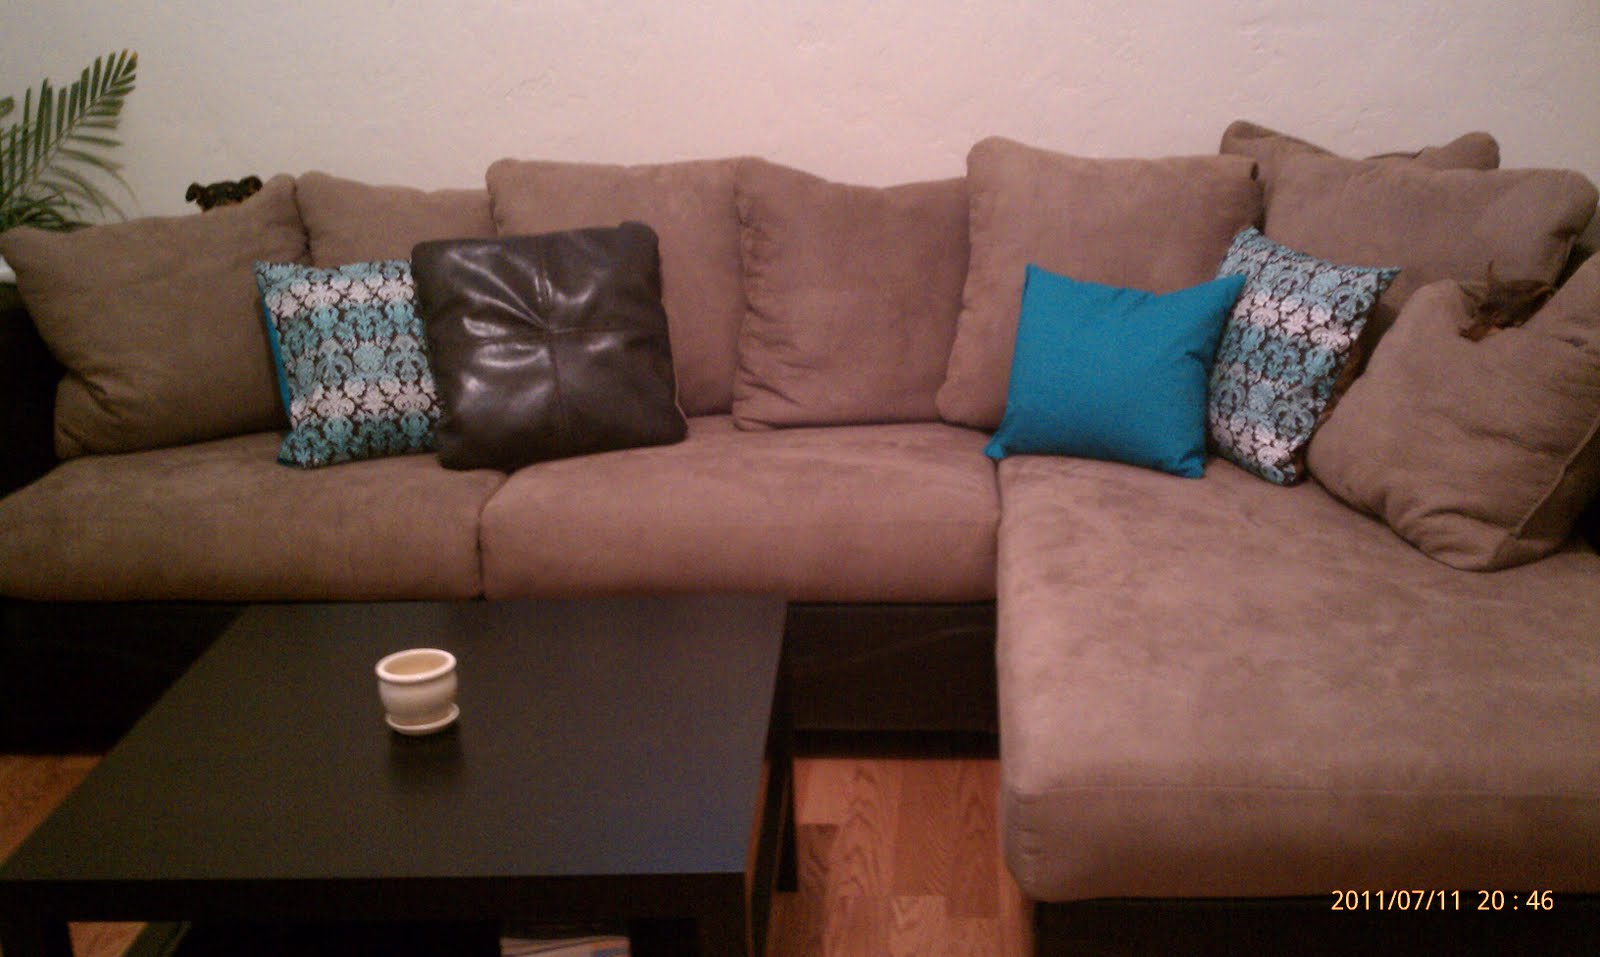
Chocolate and Teal - wonderful combo in my humble opinion


Problem #2: Too much boring beige in my family room. Everywhere I look - boring, boring, and more boring!

We usually use this ottoman for additional seating

Toby and Boozer love cuddling on this boring couch


Solution #2: See Solution 1* 'nuff said. 

I la-la-LOVE the french damask pattern

Comfy AND cute!


And look how lovely my desk looks with those few pops of color!! Yaaay me!

Target sure is wonderful :)

Sunday, July 10, 2011

Best. Desk. EVER.

If you know me, then you know that I spend at least an hour or so everyday on KSL, browsing the treasures and sorting through the junk. I LOVE to see the things that people post and look at most things and daydream about how beautiful I could make them, given the money and the time.

One such day, I came across such a find in this desk for $25.

I really had no idea what I was in for....

I mean....REALLY did not know...

I picked up this treasure and brought it back to my folks place for a spit shine and sand down. I didn't realize how bad of shape the desk was in before I agreed to take this project on. This is a perfect example of buying on emotion, without thinking it through completely. Oh, well. All is well that ends well I suppose.

First order of business (after peeling off stickers, wiping off sticky stuff and dust, and removing those terribly hideous knobs) was to remove the part of the desk that folded up to expose the part underneath. To do this, (without completely destroying the desk) I had to get a small handheld saw to actually cut the old hinges out. The hinges were built into a piece of wood, and then that wood was glues onto the existing part of the desk. If I would have just removed the strip of wood that contained the hinges, the desk top would have been to narrow to fit the computer on. So...I began hacking away.

After the fold out top was removed, I grabbed my handy dandy wood filler and began filling all the holes and cracks that this desk so terribly needed. 


Like I said, if I had inspected this desk more thoroughly before buying it, I probably would have opted against it. Since I let my imagination make the decision for me, I had to make the best of what I had to work with.

SO - I filled all the holes (where the hinges were, as well as the two drill holes that it took to hold each ugly knob onto each drawer).

Up close you can see the less-than-desirable condition of this wood

Once the filler had dried, I sanded it down so that it could be covered with primer. I used white primer because I knew that I wanted to sand down the edges of the desk so that it would keep that antique, old, french country kind of feel to it. 

After I had covered the desk in two coats of primer, I began applying the top coat of paint. I went with an almond, vanilla kind of color (which I love) for the actual desk. 

The back part of the desk is really hashed. I will eventually have to replace it completely, but that is another task for another day. I would have liked to have removed it completely until I can replace it, but I would have been unable to do so without compromising the structural integrity of the whole piece. So far, that is the only thing that I don't love about this desk.

The drawers I decided to paint chocolate brown so that they would match the rest of the furniture in the front room, and also to make them stand out. I then installed the new, 73 cent knobs  (compliments of Lowe's) and sanded down the edges of the desk, too to make them look worn.

I must say, that I am quite pleased with the end result!


I will still need to remove the back board of this desk, (as you can see) but the stool that I bought to use with the desk will hide the wood...for now.


Awesomeness at it's finest!


Love Birds on My Wall

I've seen a lot of things being done lately with old book pages. Truth be told, I just can't bring myself to tear up a book. So...here is my rendition of this technique in the project below that gave me the idea:


This matches perfectly in our room, and helps fill the empty frame that was hanging up by itself. Why, yes. This was as easy as it looks.


Tuesday, July 5, 2011

Canine Cookie Jar

Can I just tell you how much I love that I am the "Go-to Gal" when it comes to people dejunking their houses? They either are too emotionally attached to their things to throw them out completely, or I am assuming they know that I love to snazzy-up old out-dated yuckies. A lot of the things in my house are hand-me-downs or "up-cycled" from garage sales, the DI or KSL. Guess what? I'm super proud of it.

Case in point:

This cheesy lovely canister - once belonging to a whole set (which, God knows where the other canisters in the set are) that resided on my Grandmothers kitchen countertop. Now, the cheese stands alone.

I thought about changing the color scheme of my kitchen to match...but decided better of it.
The shape of this canister was nice, and I knew that with a little TLC it could be wonderful again.

So, I primed it and painted it in hopes of starting with a blank white canvas. Sadly, it was just not meant to be. The chicken, eggs and flowers are not just painted on, but they are etched into the ceramic so even though the canister was all white, you could still see the patterns beneath.

I covered the canister in scrapbook paper, knowing that it was going to be used for doggy treats it would probably never be run through the dishwasher. (I keep my dog treats in zip loc baggies to keep them from drying out...and keep the stink in). I added a few little buttons, and before I knew it, I had a masterpiece on my hands.


"Houndstooth" for my dog treats...get it?! :)

I still haven't been able to make the lid cute enough to match the bottom, so as of now this is an open-top treat jar. I will let you know if that changes later. As of right now? This is great enough for me (and Toby, and Boozer)!

Thursday, June 30, 2011

I Love Lamp

I don't know about everyone else, but I am finding more and more nowadays that my frugality has sparked my creativity. Whenever I see something...usually anything...I think "Wow - I could SOOO make that!" so instead of spending $26 for a throw pillow, $45 for a wreath, $35 for a new lamp shade, etc. etc I am just doing it on my own. It's a win all around because #1 - I save tons of money #2 - I am reducing by re-using or 'up-cycling' #3 - I am creating truly one-of-a-kind treasures to help our home to be unique, colorful and all around wonderful!

Here is how my latest project started. I saw a pillow similar to this:

I fell in LOVE with the texture and the pretty, feminine ruffles. I wanted to find a way to incorporate these into my room that I am still SO excited about! (...will post more pictures when I finish my best and final projects in there!) Coincidentally enough, I had a lamp shade that didn't match my new room. "Ding!" The light bulb went off.   

This lamp shade was pefectly fine on it's own...just not green enough!

I had seen a couple different techniques on some of the DIY blogs that I follow on how to make ruffles, but was scared of using fabric for it being too heavy and keep the light from shining through. Paint wouldn't work (plus I'm pretty sure it's flammable) and finally settled on.....are you ready for this?....coffee filters. True story.
I started by taking the coffe filters then folding them into eights. I folded back a corner and put hot glue on the point then started at the top, and staggered the coffee-filter-ruffle-triangle-thingies all the way down the lamp shade. (like so:)
Don't worry...this only took like 90 hours of my life and 40 gallons of hot glue. 

Halfway down the lamp I realized that I was turning my lamp shade from one neutral color to another. Boooorrriiing! This bad boy needed some color. Solution? Tule. I had some extra from Joanne's that I had bought for another project that matched (almost) perfectly. I cut it into 3" by 3" squares and then folded and applied them in the same fashion as the coffee filters. Color = check.

I then had to hide the ugly edges of where the lamp shade ended and the ruffles started. All I did for that was hot glue them to the inside of the lamp shade instead of the outside. After all was said and done, I used 2 packages (160 ct. each) of round coffee filters, and about 20 mini sticks of hot glue. (Make sure that if you try something similar to this you use HIGH HEAT hot glue, so that the lamp head doesn't melt the glue - and ultimately all your hard work)
I wish the lighting were better so that you could see all the ruffley-detail. It's been raining a lot so it's gray and crappy outside. I will post a better picture later. In the meantime? Use your imagination.

TADA!


:)


My little slice of heaven

Alright, ya'll. Here is an update on our new place.

#1 I love it.
#2 I hate to leave it.
#3 It gets more and more perfect everyday - with every picture that is hung, every new piece of furniture that is assembled, every weed that is pulled and every flower that is planted.

I. Am. In. Heaven. I don't even like to leave in the morning to go to work...and I LOVE my job!

Any how, I thought I would post a couple more pictures to show our progress from when we moved in. Since it's been rainy and crappy out here lately the light quality isn't the best ever, but you get an idea of how lovely it might look if it were sunny and delicious outside.

Welcome to our home! We hope you enjoy the view!
Our last room was all in brown and beige. It has been nice that I was able to just paint and recover to make small adjustments that made a big difference in our room!

The sight I look forward to everyday
I wish I would have taken "before" pictures. Once these flowers all fill out, I will have the cutest little yard ever!
Oh yeah...that's right. I totally built that wall all by myself!
You can FINALLY see the table! :) I wish you could see how big this room really is. I can't get a good angle at all of this room. (Especially one with the blinds open so you can see how much natural light this room gets!

IKEA has helped add so much more space to our counters and pantry.
This rug hides this weird vent that seems to serve no purpose...except be creepy.

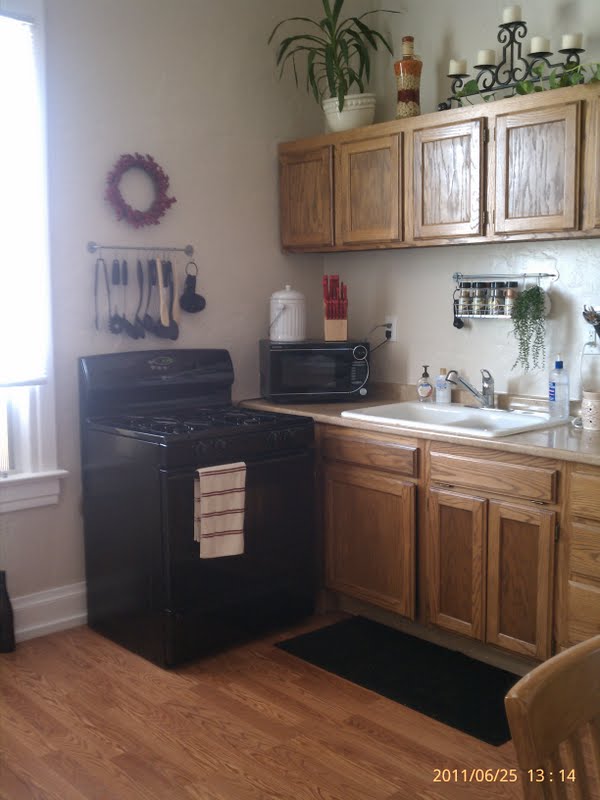
Love, love, LOVE my kitchen!


Love!


We have taken every little tiny thing in this room and made it different. I LOVE that my room is so unique!


Bean Wreath

Before Mike and I ever moved into our place I have been browsing the web and searching through DIY blogs to find things to make our home be a unique, colorful reflection of our personalities and somewhere that we enjoy to be. On one such web surfing adventure, I came across this cute Lima bean wreath from one of my favorite blogs, All Things Thrifty.  Since I knew that mine was going to hang inside, I made mine a little smaller and so used smaller beans vs. Lima beans. I think it still turned out pretty cute, but then again...I am a little biased. ;)

Everything started out just fine. Styrofoam wreath from Joanne's, $5.99. 1 bag of North American beans from Sunflower market, $1.29. Hot glue sticks, $6.00. Ribbon from Dollar Tree, $1.


After several hours and 14 hot glue sticks, it was finally ready! so I spray painted it all white, (so that the beans were the same color as the styrofoam that showed through between beans) and hung it with some ribbon I found at the Dollar store - that matches PERFECTLY with my new room - and Voila!


Here is what it looks like hung up on the wall (with poor lighting):


Made them. Hung them. LOVE them!!